Seller Onboarding
The onboarding process takes you from creating an account to being ready to sell.
Step 1: Authentication
Visit the seller portal (/seller) and either log in or register a new account.
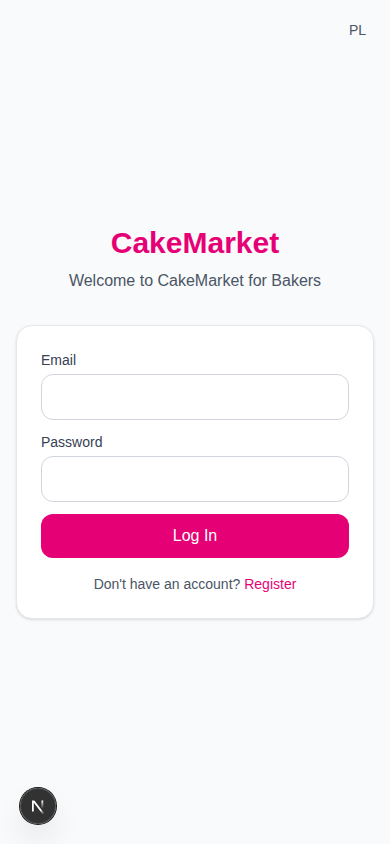
- Register: Provide your name, email and a password
- Login: Use your existing credentials
- A language toggle is available in the top-right corner
After authentication, the system checks your membership status and routes you to the appropriate step.
Step 2: Personal Details
If your profile is missing information, you're asked for it before continuing:
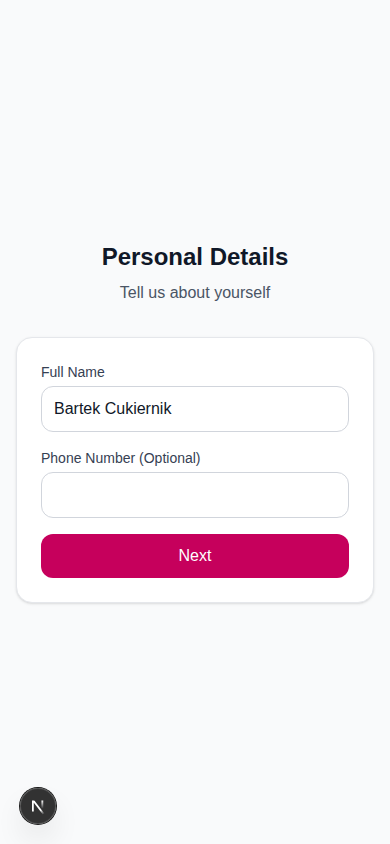
| Field | Required | Description |
|---|---|---|
| Name | Yes | Your display name |
| Phone | No | Contact phone number |
Step 3: Organisation Setup
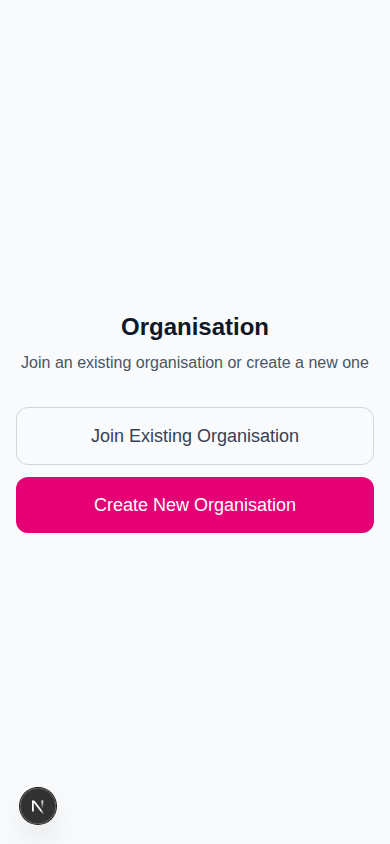
You have two options:
Option A: Join an Existing Organisation
- Choose "Join Existing Organisation"
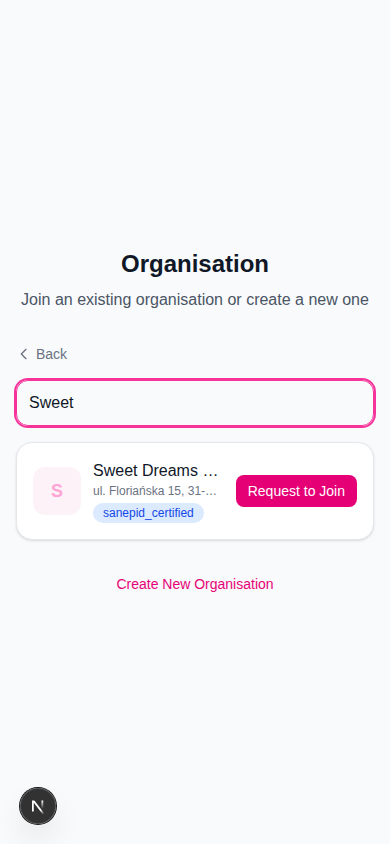
- Search for the organisation by name
- Browse results showing organisation name, address, and any optional admin-issued badge
- Click "Request to Join" on the desired organisation
- You'll be redirected to the pending page while the org admin reviews your request
Option B: Create a New Organisation
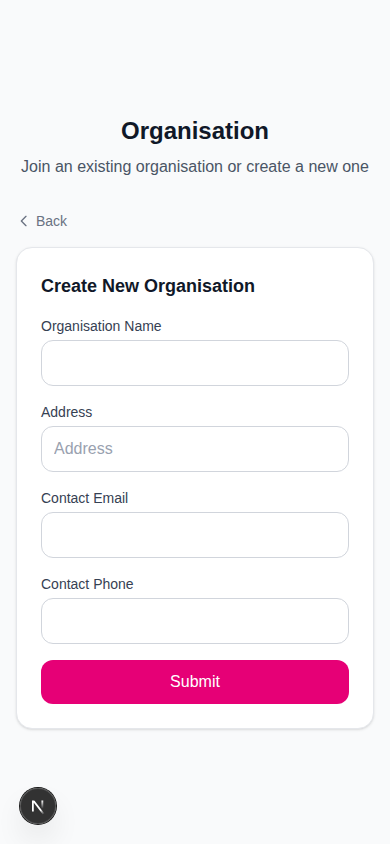
- Choose "Create New Organisation"
- Fill in the organisation details:
| Field | Required | Description |
|---|---|---|
| Organisation Name | Yes | Your bakery name |
| Address | Yes | Physical address — pick a suggestion from the autocomplete so exact coordinates are captured |
| Contact Email | Yes | Business email address |
| Contact Phone | Yes | Business phone number |
- Confirm that you have the legal right and required registrations and permits to produce and sell cakes
- Submit the form — your organisation is created immediately and you are taken to the setup guide
Join-request review
Only people joining an existing organisation wait for approval. The pending page checks automatically and redirects to the dashboard when an organisation admin accepts the membership request.

Membership States
| State | Meaning |
|---|---|
no_membership | No organisation — need to join or create one |
pending_member | Waiting for org admin to approve your join request |
active | Active membership — access the dashboard |
What Happens Next?
Once your membership becomes active, the dashboard shows the setup checklist. Required seller details and Stripe onboarding activate the organisation automatically. Recommended sections can remain drafts.
Capabilities, delivery, deposit, portfolio and Sanepid proof are recommended settings. Save each section and explicitly mark it complete when it is ready; this changes the checklist indicator but does not block activation.